Hello everyone and welcome to my blog. Today, I would like to share with you an easy step-by-step tutorial for a junk journal folio that I made from an old notebook cover.
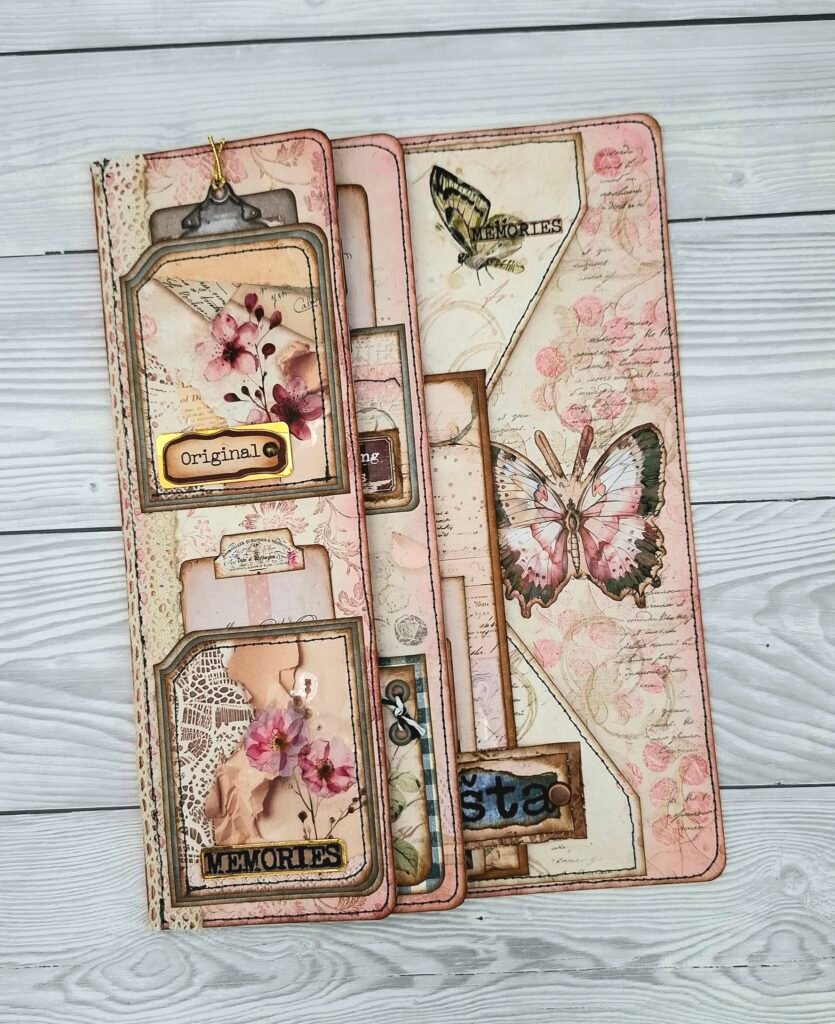
For decoration I used scrapbook papers from Stamperia Romantic Collection and some digital design elements from My Porch Prints and Back to the Source PL which I bought on Etsy.
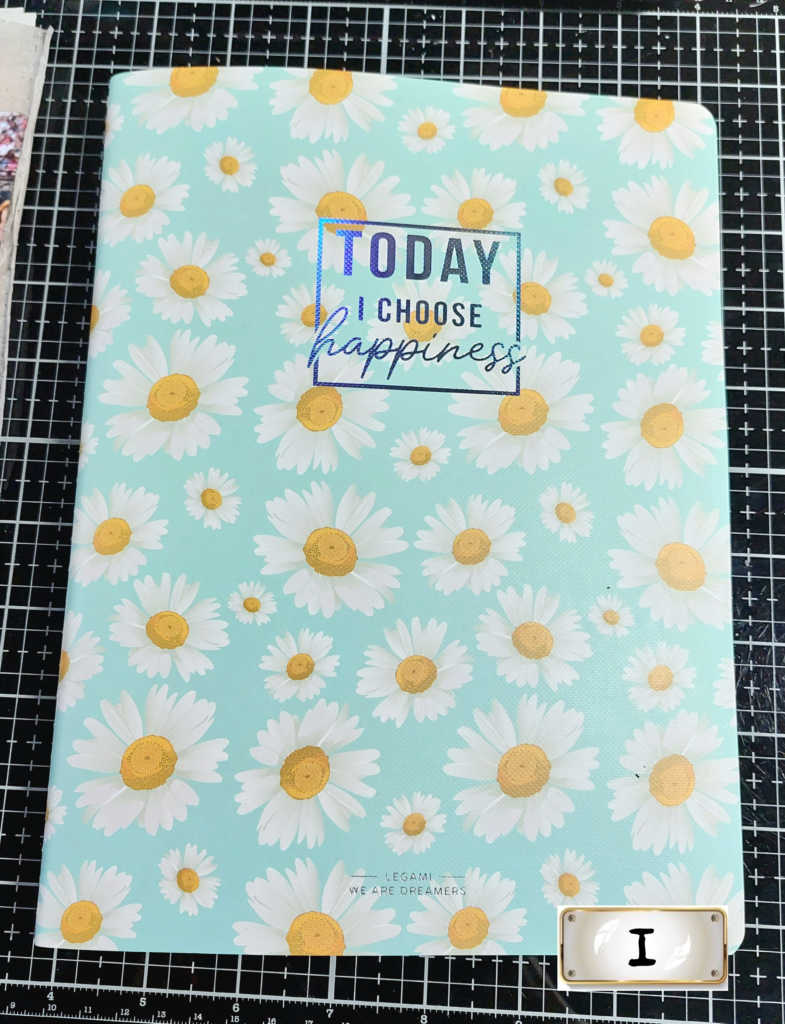
1) This was just an ordinary school notebook and I wanted to use the cover for my folio because of its sturdiness and size. The measures are 18*24,5 cm (7,09*9,65 in). For measurements in inches, divide the centimeters by 2,54.
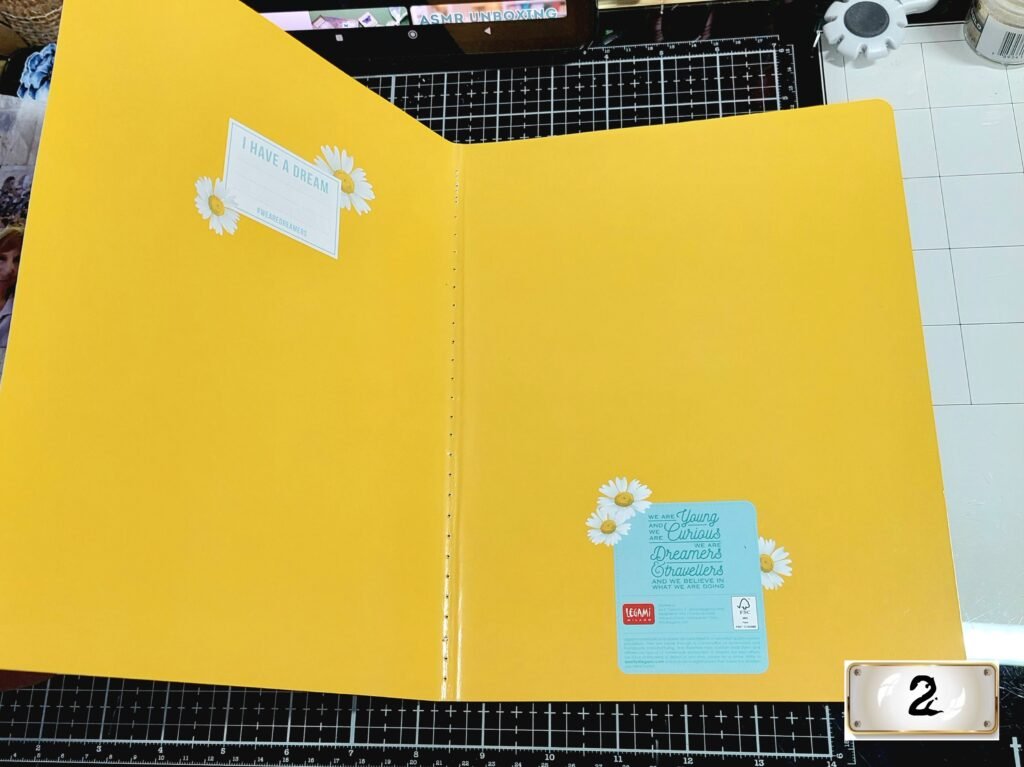
2) It was rather big when opened so I decided to split it in three parts.
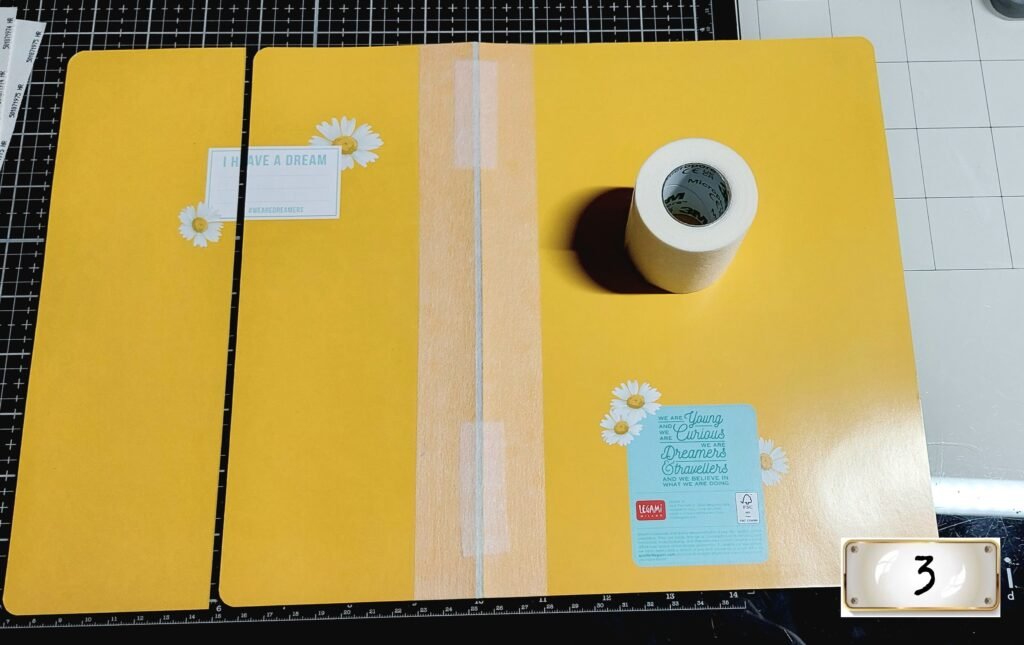
3) The left side I cut into two pieces and the top one is a little bit smaller. I glued all the parts with a medical tape. The one you can buy in a drugstore. I left two to three millimeters of space between the pieces, so that the pages can be closed once they are filled with pockets and tuck spots.
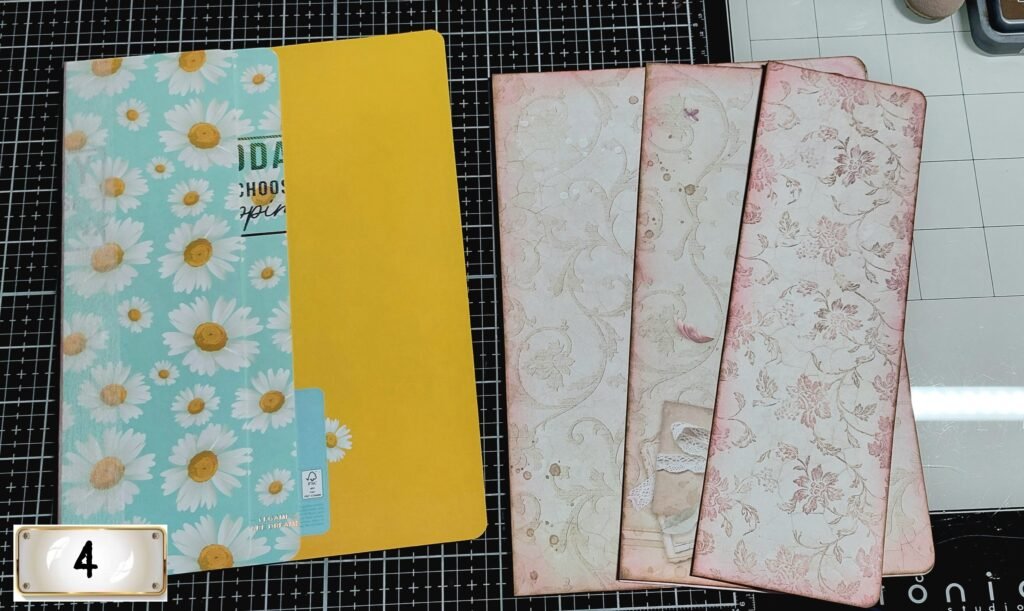
4) For colors, I decided to go with light pink, vintage beige and some grey shades of my scrapbook papers. I cut the pieces of scrapbook papers for all the surfaces of the folio and inked the edges, first with the Rose Madder ink from Ranger Archival line and after that with the Wallnut Stain from Tim Holtz Distress Oxide inks.
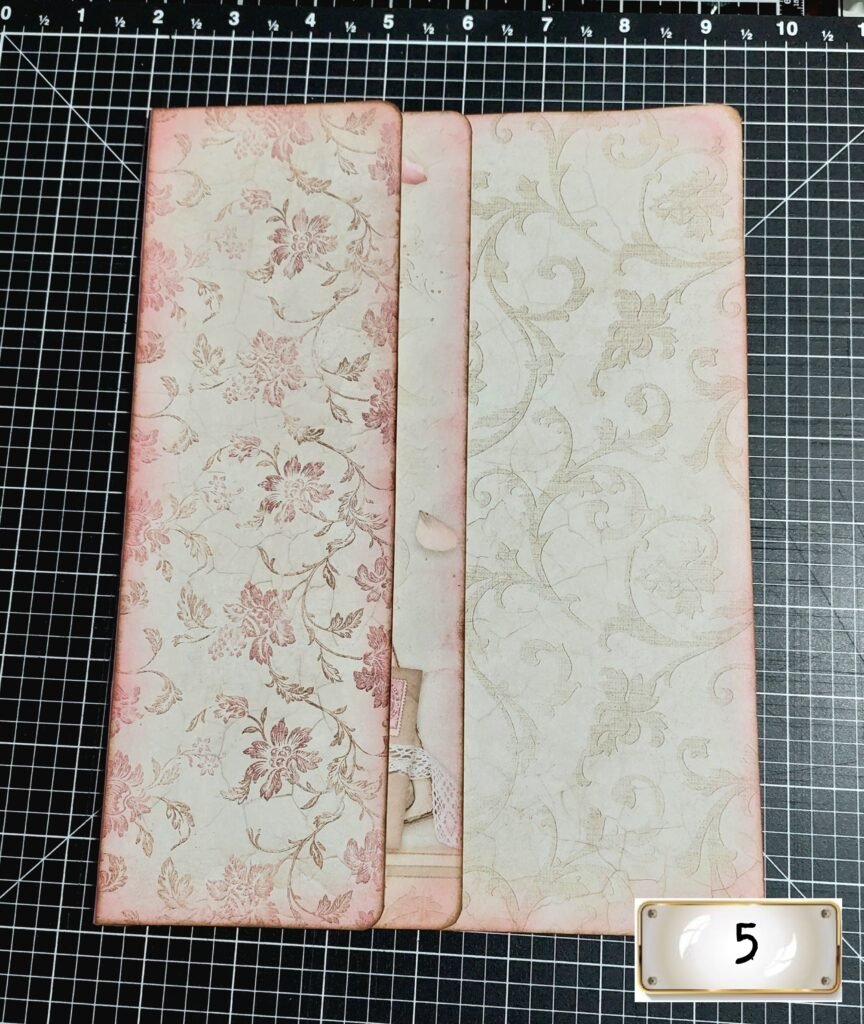
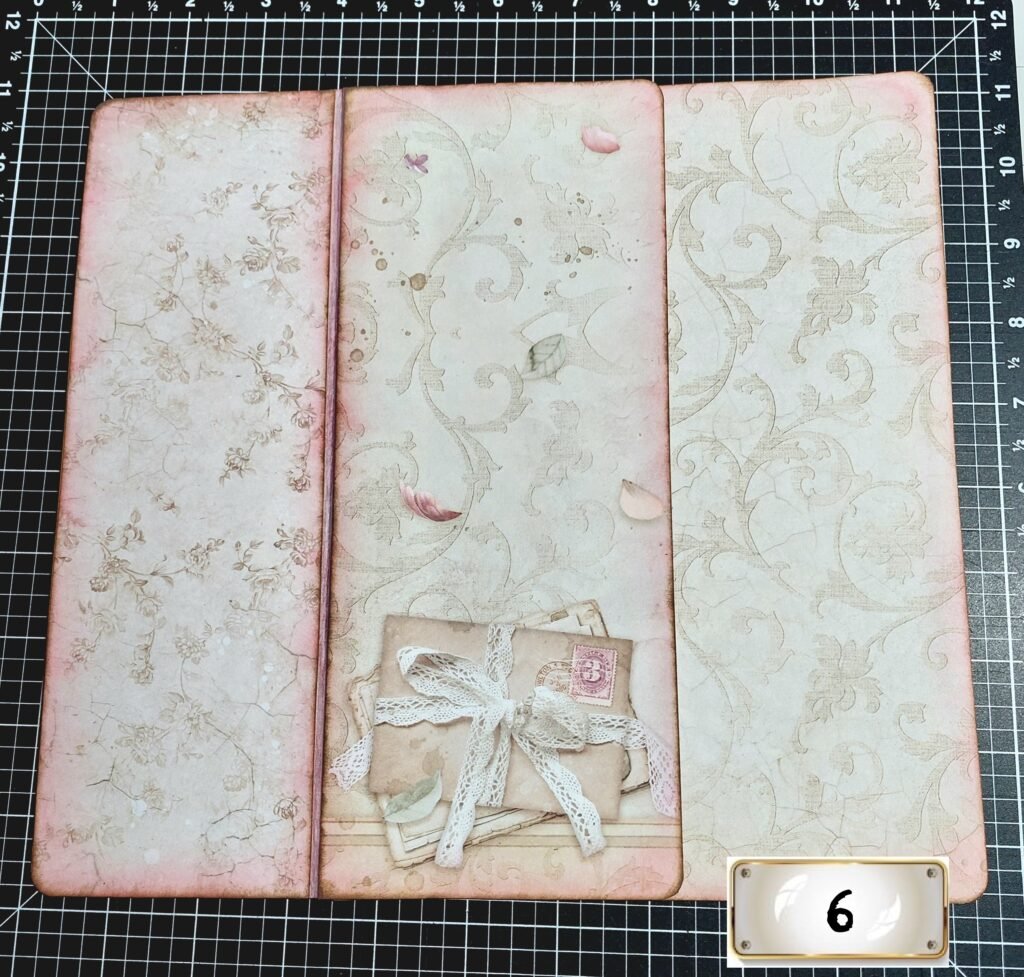
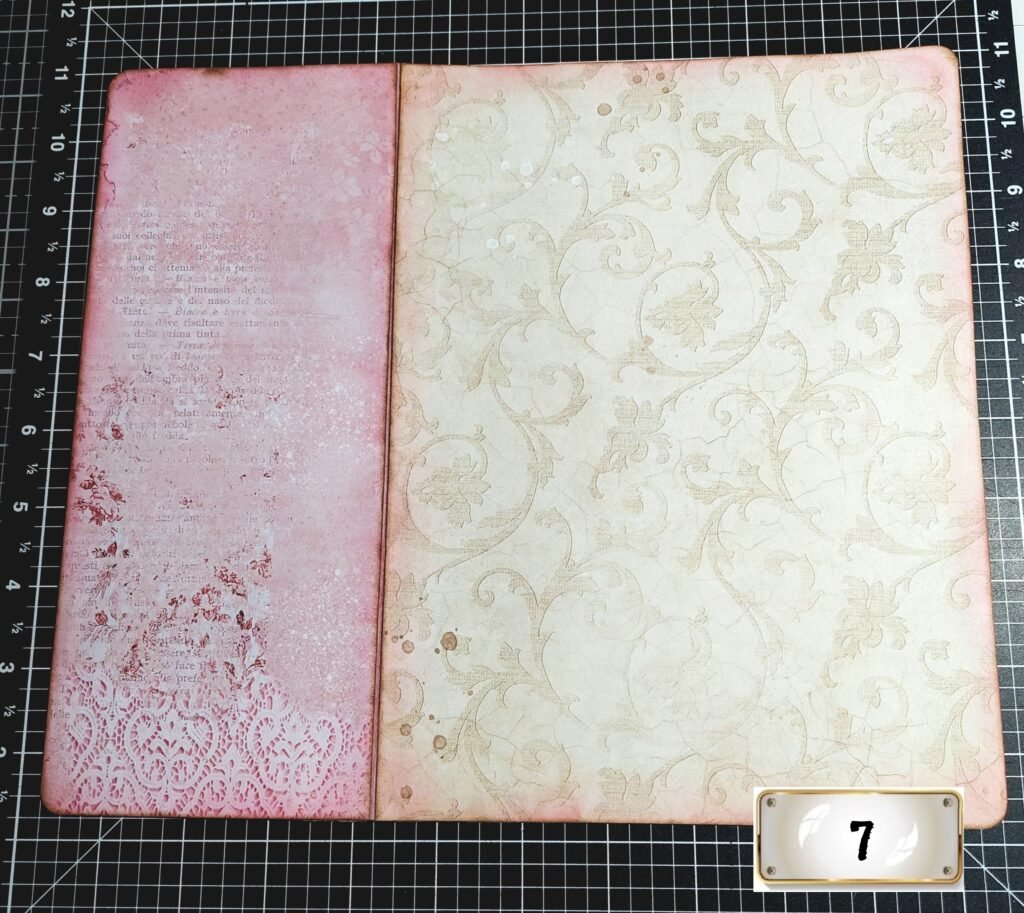
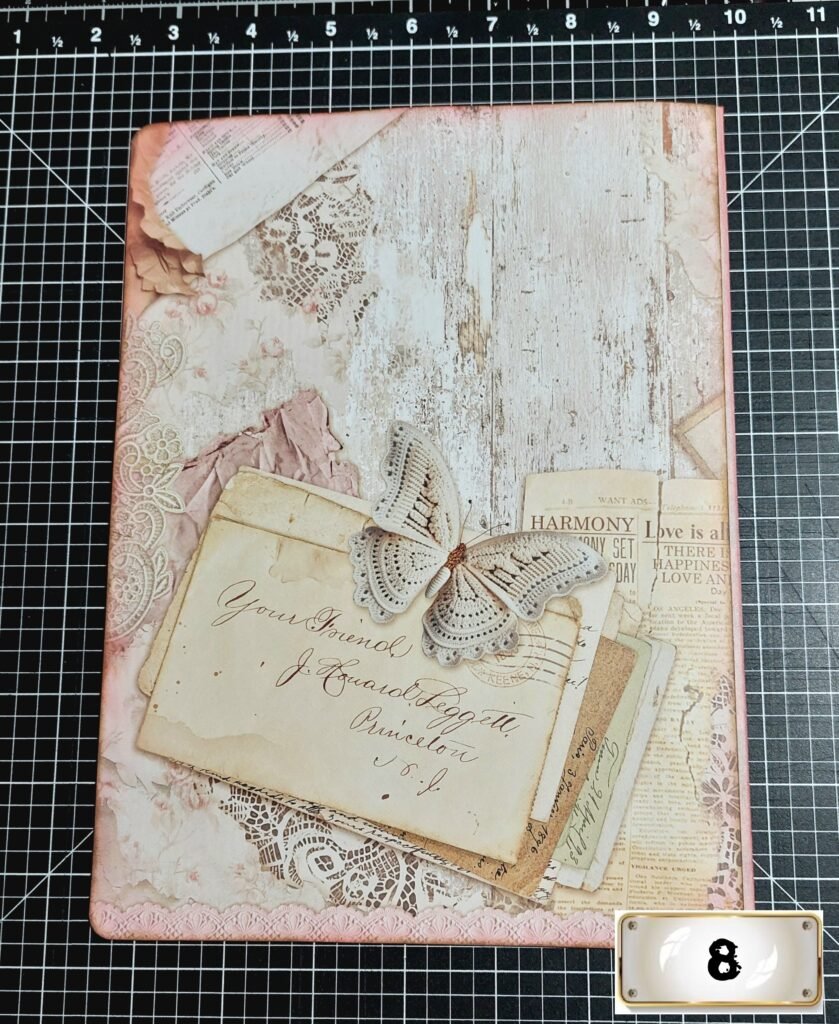
5) I glued all the parts and then inked the edges once more with Wallnut Stain just so that the notebook edges don`t show white between scrapbook papers. Pictures 5 – 8 are showing the folio from all sides when covered with scrapbook papers.
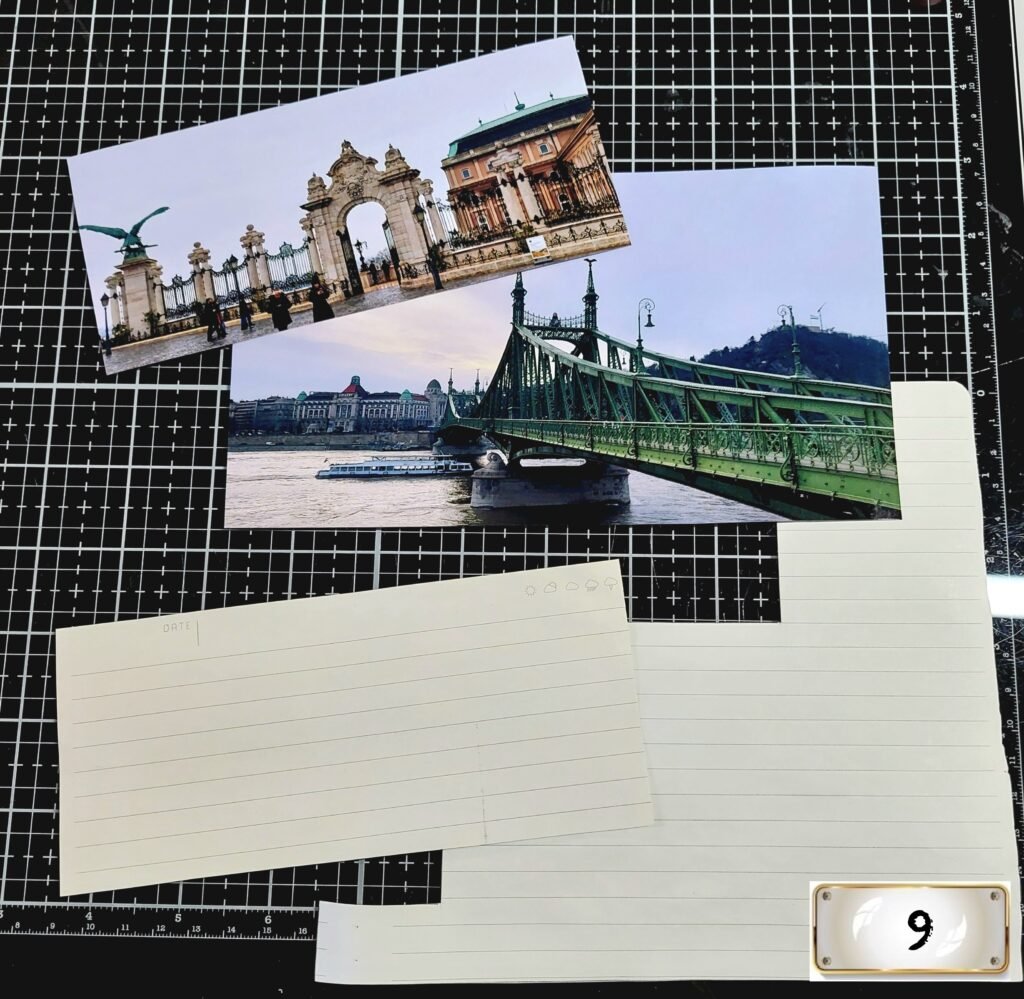
9) This junk journal folio is going to be part of my memory junk journal and it will be filled with pictures and memorabilia from my trip to Budapest, Hungary. I cut all the pictures to a wanted size and then I cut some tea dyed papers to fit the size of pictures for the backgrounds. That way, every picture has a writing spot.

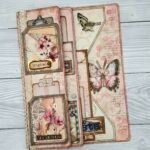
10) There are two pockets on the front page of the folio. They have three layers of paper each, just for some sturdiness and decoration. The first page, or piece, I decorated with some lace, too. You can see it on the main picture in this post.
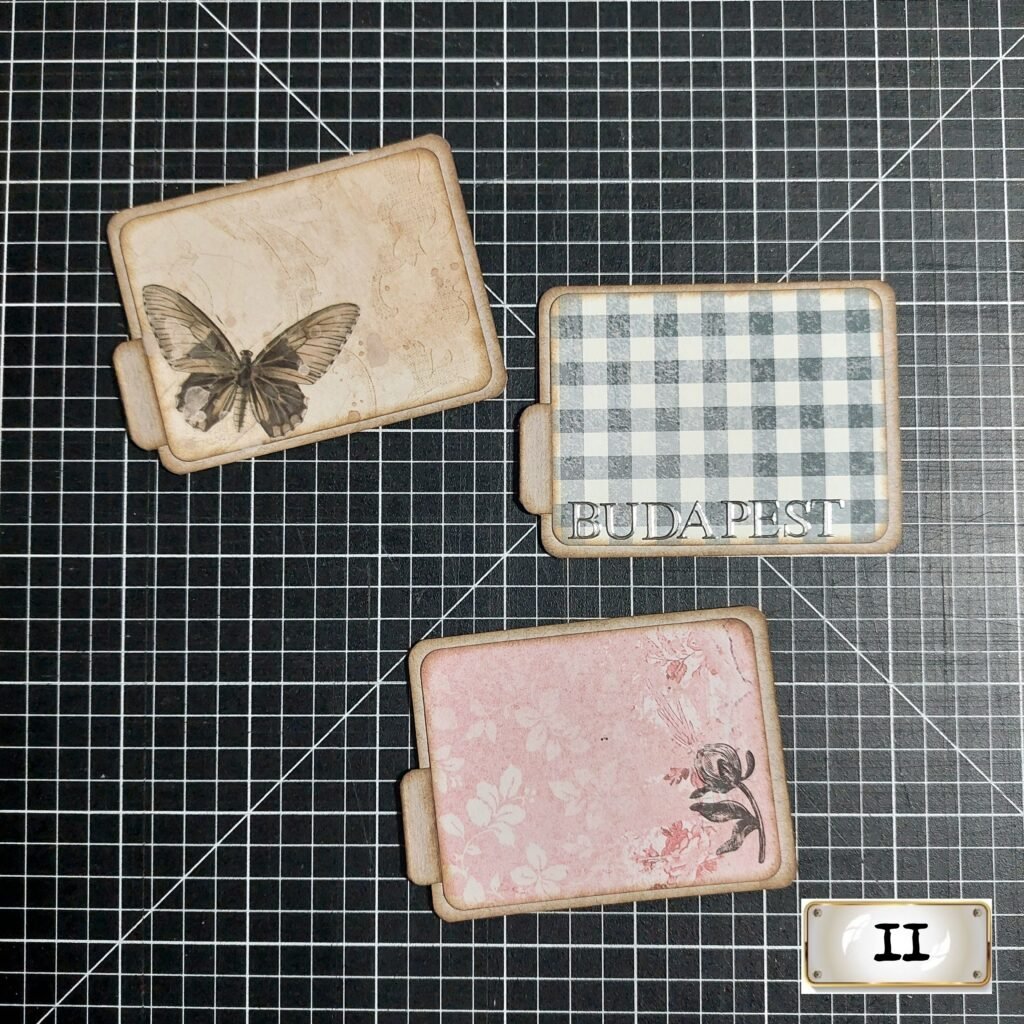
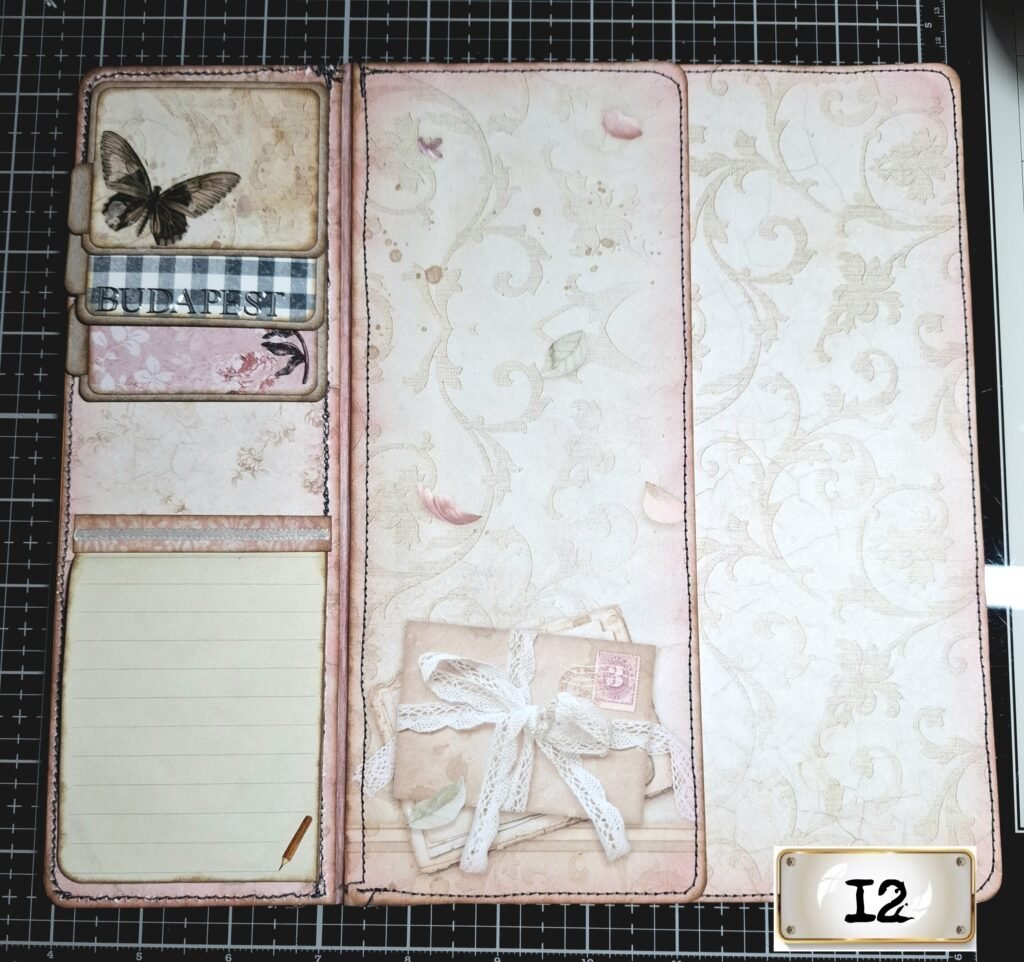
11) On the back side of the first piece, I added three flip-outs that have small pictures beneath. And also a writing spot where I will write some memories down from that trip.

13) For the third piece, I decided to make a big pocket where I can put larger pictures and other memorabilia. It is also a scrapbook paper from Stamperia, cut to a shape I wanted to have and stitched all around. By the way, I stitched all the pieces of the folio for the decoration.
I added this flower on top. It is a rub-on sticker from 49 and Market.

14) The “Budimpešta” is Budapest, just in Croatian. 🙂 I made it as a belly band where I will put an envelope with some pictures, receipts from restaurants and similar little things. I secured it with two brads and then I glued that whole pocket to my folio. I also added some bubble wrap stamping for an extra decoration.
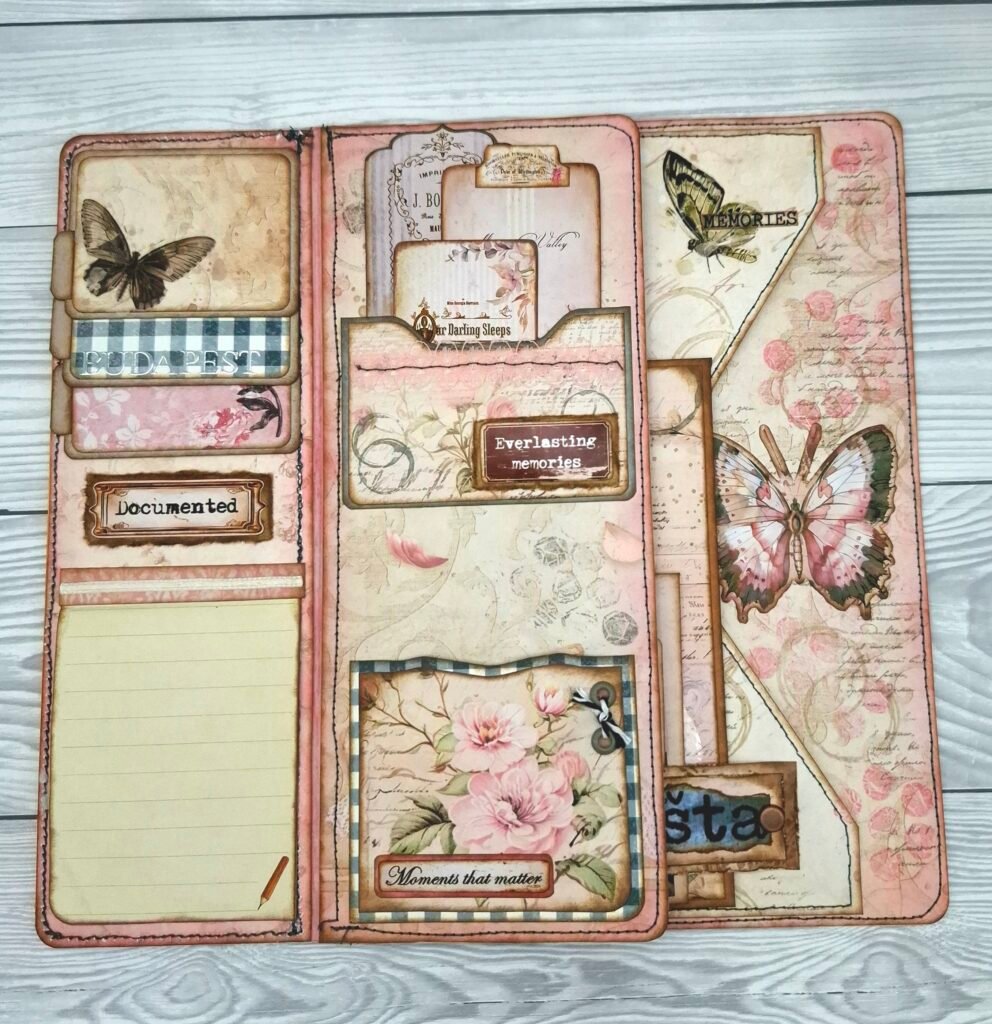
This is how it looks when the first piece/page is opened.
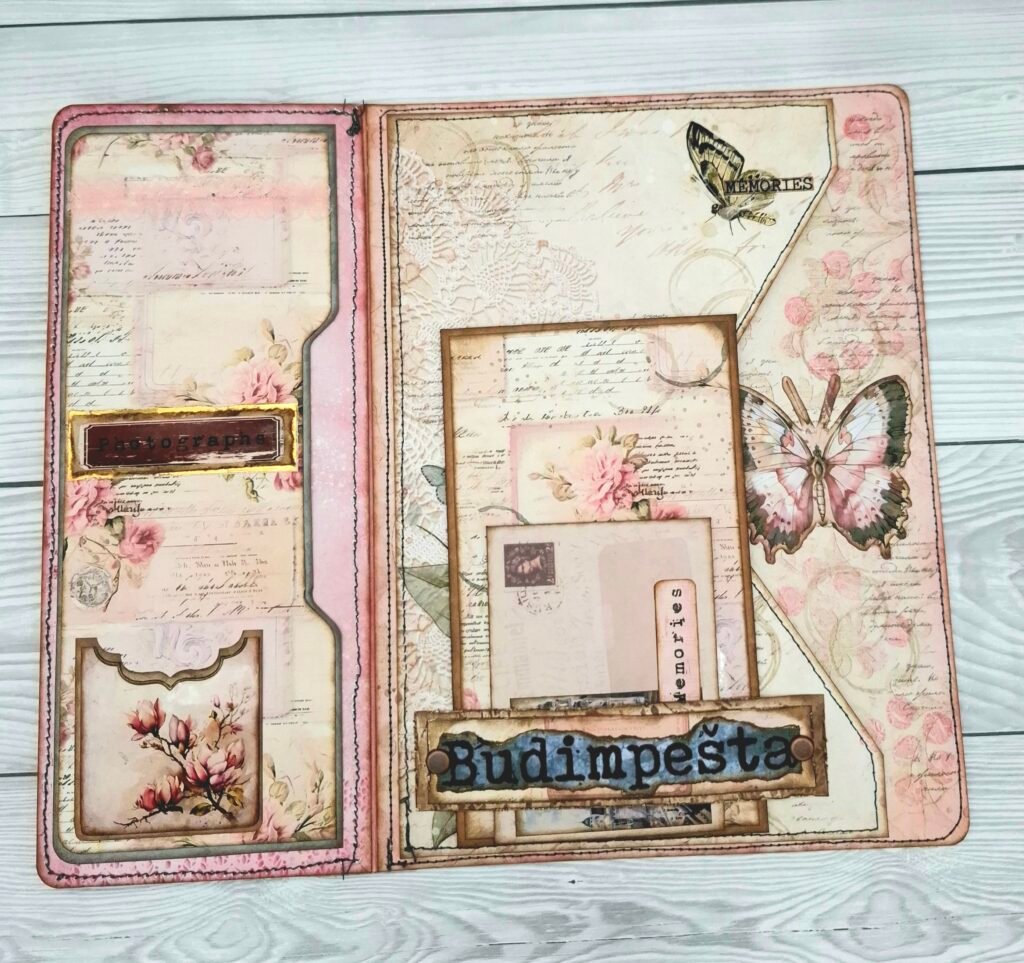
Here you can see the back side of the middle piece and the envelopes stucked into the belly band.

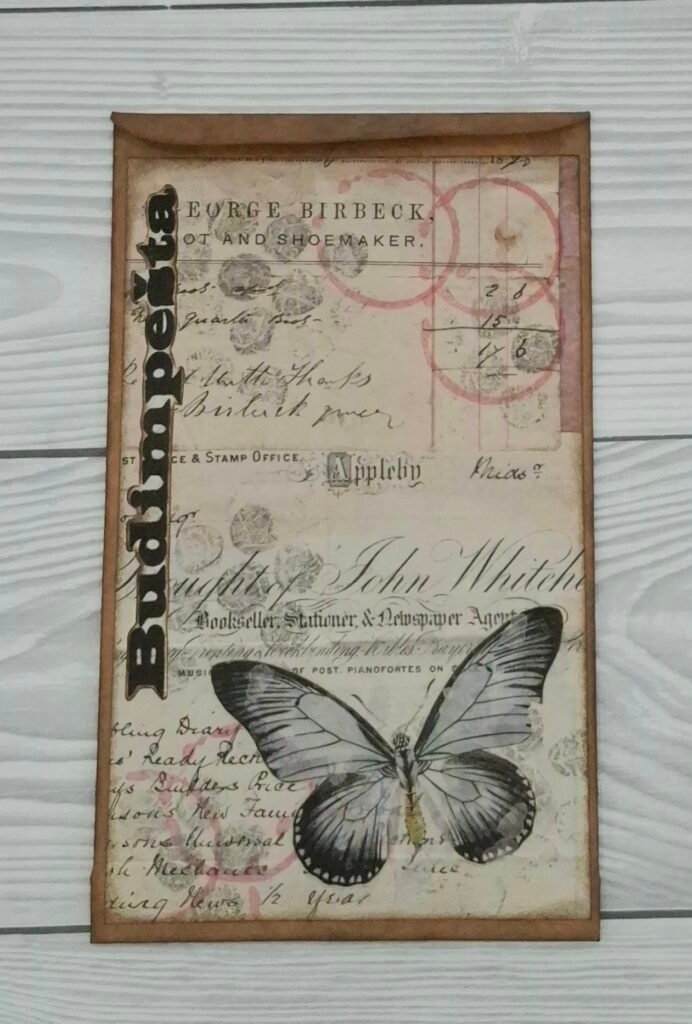
Above are the envelopes and how I decorated them with some antique papers and stickers.
Well, I really hope you`ll like this idea and that you will be able to use it as an inspiration for your own projects. I would love to see what you will make. Please, tag me on social media, on Instagram: @artani_crafts and on Facebook: Art Ani.
You also have direct links to my social media pages on the top and bottom of this blog, if you would like to see more of my work.
If you have any questions about this project, please leave them in the comments section down below and I will answer them as soon as possible.
Thank you for visiting and have a nice day 🙂

This is beautiful.
One question I have.
You cut the cover in parts, with small space between so that the thickness of added stuff will work ( 3 of them ) but how did you rejoin to make folio?
I am fairly new to this, so appreciate the help.
I glued the parts with the medical white tape that I bought in the drugstore. You can see that step on the picture number three. Or you can use any tape that you have, even a wide washi tape. I hope that helps.